Summoners Not Included Walkthrough Part 2
Walkthroughs for Ghost Master Act 1
Freeing The Restless Spirits
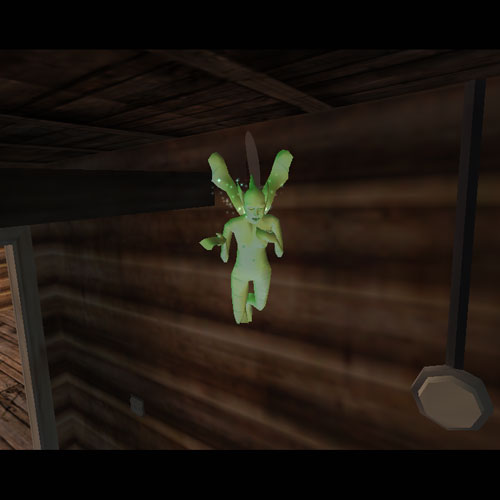
Next step is to free Whisperwind
The next step is to free Whisperwind. Bind Aether to the bicycle next to her. Use Aether's Shattering Song power. Then bench her once Whisperwind is free.
Head straight for the entrance to the basement
Continue by binding Weatherwitch next to the basement entrance and using her Gusts power. Once the leaves are gone, use Siren Song only.
Head straight into the basement. Have Boo use Kinesis to move the book. Then bench him and Weatherwitch.
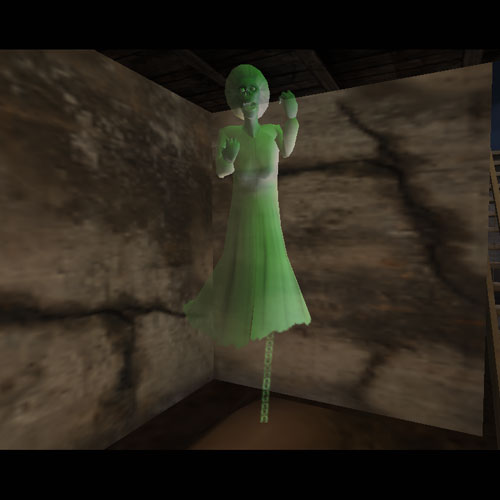
By this time the students should be looking for the key. They will head to the outhouse. Bind Maxine Factor to the moose head in the lodge and prepare her to use only Intrigue.
This is actually where you get to take a moment to breathe in our walkthrough, and rests don't come often in Ghost Master. The students will find the key, head downstairs, and start the ritual.
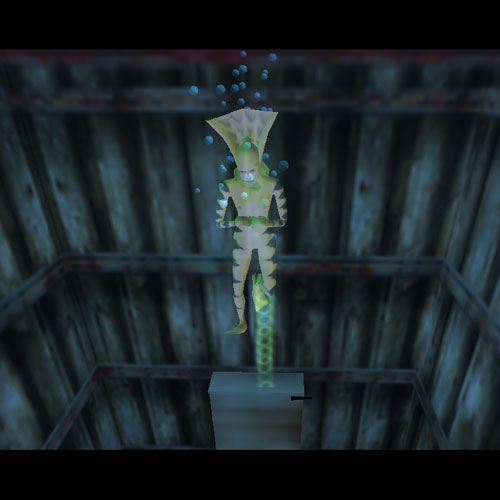
And now for Moonscream
Once the first cutscene with the Professor plays, wait until he is alone in the basement. You can have Moonscream use Spooky Surprise. This will both free her and scare the Professor.
Switch on Maxine Factor's Intrigue power. That will help attract the mortals that flee the basement, leaving you more room to deal with the Professor.


