The Blair Wisp Project Walkthrough Part 2
Walkthroughs for Ghost Master Act 2
Freeing The Restless Spirits
Freeing Sparkle
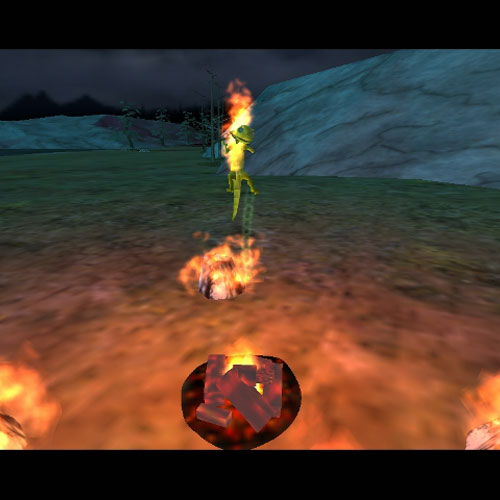
To free Sparkle, simply bind Harriet near the campfire and have her use Ethereal Gift. Then bind Firetail to the Gift and have him use Bonfire. After Sparkle is free, bench them. Once Sparkle is free, use Stonewall to knock down the tree preferably with Quake. While that is happening, click the Darkling in the basement and set him to only use the power at his current band. When the tree is down, bench Stonewall.
Free the Blair Wisp
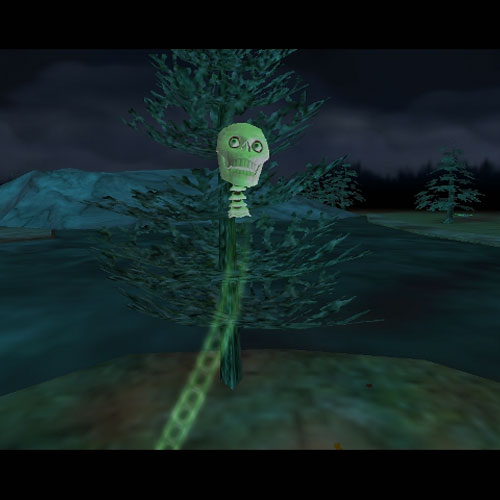
Bind Whisperwind on the island, preferably near the altar. Use Tempest. Once the fog is clear, bench Whisperwind and have the Blair Wisp use only Hypnotic Image. While the Blair Wisp is freed as soon as someone sees it, you have to be fast. The moment that the Blair Wisp is free, bind Fingers to the altar and use Unearthly Calm, and only when mortals are present. If you have trouble clearing the fog, you may need to have Weatherwitch use Gusts as well. It seems to depend on how Ghost Master is feeling at the time.
Freeing the Darkling
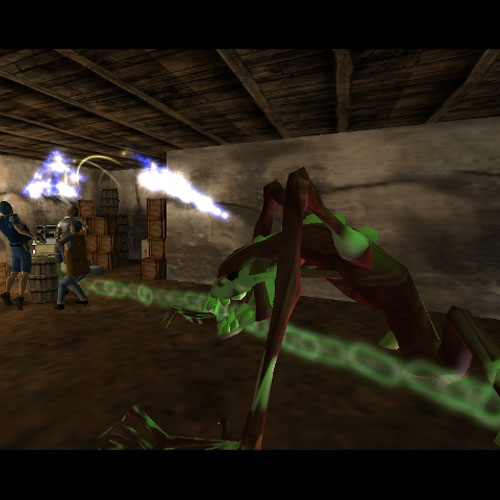
With the tree down, bind Blue Murder to the tree stump and have her use Obsession. Keep Fingers on the altar using only Unearthly Calrm. You must keep them calm or they cannot cross onto the island. Once the last person has crossed onto the island, have the Darkling use Obsession. This will draw them across the tree and right into the basement. If you haven't freed Moonscream, be on your toes. It's coming.
Freeing Moonscream
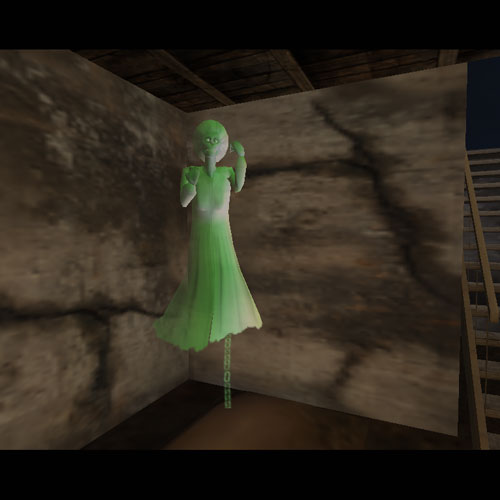
You only have a few seconds between when people begin entering the basement and the cut scene starting. You need to have Moonscream use Spooky Surprise and be seen by someone.


